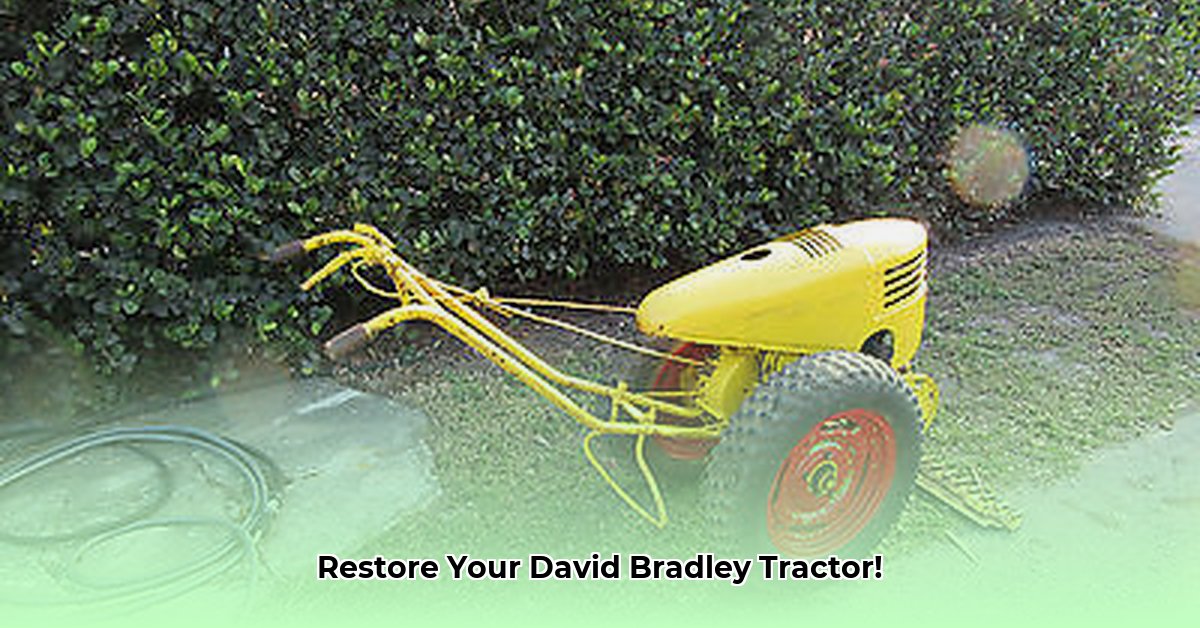
Bringing a classic David Bradley walk-behind tractor back to life is a rewarding project that blends history, mechanics, and a healthy dose of elbow grease. This guide provides a step-by-step approach suitable for both seasoned mechanics and enthusiastic newcomers. Let's get started!
For more David Bradley resources, check out this helpful website: David Bradley Info.
Assessing Your David Bradley Walk-Behind Tractor: The Starting Line
Before you touch a wrench, give your tractor a thorough inspection. Think of it as a pre-flight check for a vintage aircraft. Take detailed photos – they're your best friend throughout the process. Determine the scope of work: a complete ground-up rebuild or just cosmetic enhancements? Honestly assessing the condition creates a solid plan. Is it a weathered barn find or a well-loved machine needing TLC? This dramatically alters your approach. Create an inventory list, noting each part's condition – incredibly useful later. How much time are you realistically willing to dedicate to this project? Many factors may ultimately impact a successful restoration.
The Great Parts Hunt: Sourcing Components for Your Restoration
Finding parts for older machines can feel like a treasure hunt. Online forums dedicated to antique tractors are invaluable resources, often leading to parts leads; think of them as your digital swap meets. Don't overlook online auction sites like eBay – hidden gems await. Local antique equipment dealers and shops are also worth exploring; they may have parts not listed. Networking with other David Bradley enthusiasts is crucial. Joining a local club or online community facilitates information sharing and locating elusive parts. This community-based approach can be remarkably effective. How many hours are you willing to dedicate to the hunt for specific parts?
Disassembling Your David Bradley Walk-Behind Tractor: A Careful Deconstruction
Patience and attention to detail are paramount here. Take your time; rushing leads to headaches. Use high-quality photos and detailed notes, creating a blueprint for reassembly. Label every part, bolt, wire, and nut – even the tiny ones. This isn't just disassembly; it's reverse engineering your tractor. A methodical approach ensures a smoother restoration. Did you know that properly labeling parts can reduce reassembly time by up to 40%?
Cleaning and Preparing Parts: From Rusty to Ready
Now comes the deep clean. Rust is the enemy; fight it effectively. Use appropriate tools – wire brushes for light rust, chemical strippers for heavier corrosion, and possibly sandblasting for larger components. Always wear appropriate safety gear: eye protection, gloves, respirators – depending on your cleaning methods. Consider the environmental impact of your cleaning solutions. What cleaning methods will balance effectiveness with environmental responsibility?
Repair or Replace: The Parts Decision
You'll face choices: repair existing parts or replace them? Original parts are ideal if in good condition, but quality reproduction parts are a practical alternative. It's a balance between authenticity and functionality. Sometimes, a good reproduction is superior to a compromised original. How will you balance the desire for originality with the need for functional reliability?
Reassembly: Putting the Pieces Back Together
Carefully reverse the disassembly process. Your photos and labels are lifelines. It's like building with incredibly detailed LEGOs—but with more moving parts and a greater sense of accomplishment. Take your time; double-check every connection. What strategies will you employ to ensure accurate and secure reassembly? Many restorers find that checklist-driven reassembly significantly reduces errors.
Painting and Finishing: The Beauty Treatment
Make your tractor shine! Research historically accurate paint schemes and colors for your model. This enhances authenticity and value. Use high-quality paints and primers suitable for outdoor use. A professional paint job offers a flawless finish, but a well-done DIY job is achievable. How will you decide between professional painting or a DIY approach? The choice often reflects budget and skill levels.
Testing and Fine-Tuning: The Final Inspection
After reassembly and cleaning, it's testing time! Carefully check every function: engine, transmission, implements – everything must work smoothly. A tune-up might be necessary. Your hard work should result in a beautifully running, restored David Bradley. What specific tests will you conduct to ensure the restored tractor functions optimally? Comprehensive testing is key to long-term reliability.
Pros and Cons of David Bradley Walk-Behind Tractor Restoration
Weighing the rewards and challenges is smart. This table summarizes the pros and cons:
| Pros | Cons |
|---|---|
| Substantial potential value increase | Very time-consuming and physically demanding |
| Deep personal satisfaction | Needs specialized tools and, sometimes, advanced skills |
| Enhanced knowledge of agricultural history | Sourcing parts can be challenging and expensive |
| Unique and valuable addition to a collection | Unexpected mechanical issues may arise |
| A great conversation piece! | May require significant financial investment |
Remember, restoring a David Bradley walk-behind tractor is a journey, not a race. Embrace the learning process, enjoy the challenges, and take pride in your accomplishment. You'll have a beautiful, functional machine and a fantastic story to tell. What unexpected challenges might you encounter during the restoration process, and how will you prepare for them?
This guide provides you with the tools and knowledge to start restoring your David Bradley walk-behind tractor. Happy restoring!